Personal Tech Blog v1.0
WordPress · Azure
Summary: I’ve completed numerous personal projects over the years that have taught me many new skills. However, I wanted somewhere to document my projects and share them with people.
Objectives:
- Create a simple, low cost blog to document my personal projects.
Objective 1: Create a simple, low cost blog to document my personal projects
Making an Azure account and installing WordPress
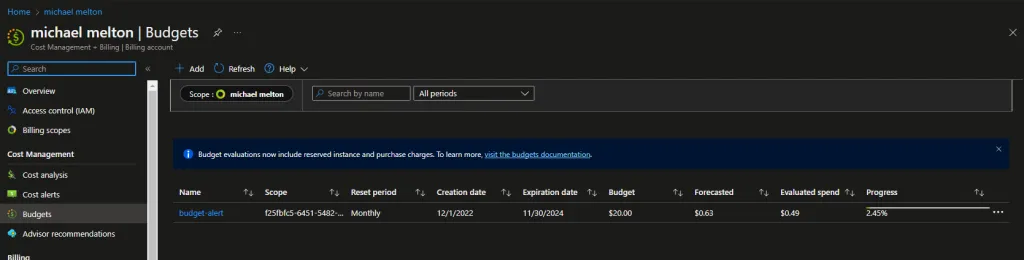
I knew that I wanted to gain more experience with Azure, so I decided to signup for an account. One of my goals was to keep costs low, so I setup alerts if the cost of my project went over a certain threshold. To easily manage permissions and billing, I created a resource group called “tech-blog” which I’ll assign all resources for this project to. Then, in “Cost Management + Billing”, I created a budget to alert me if the projected cost went over my threshold.
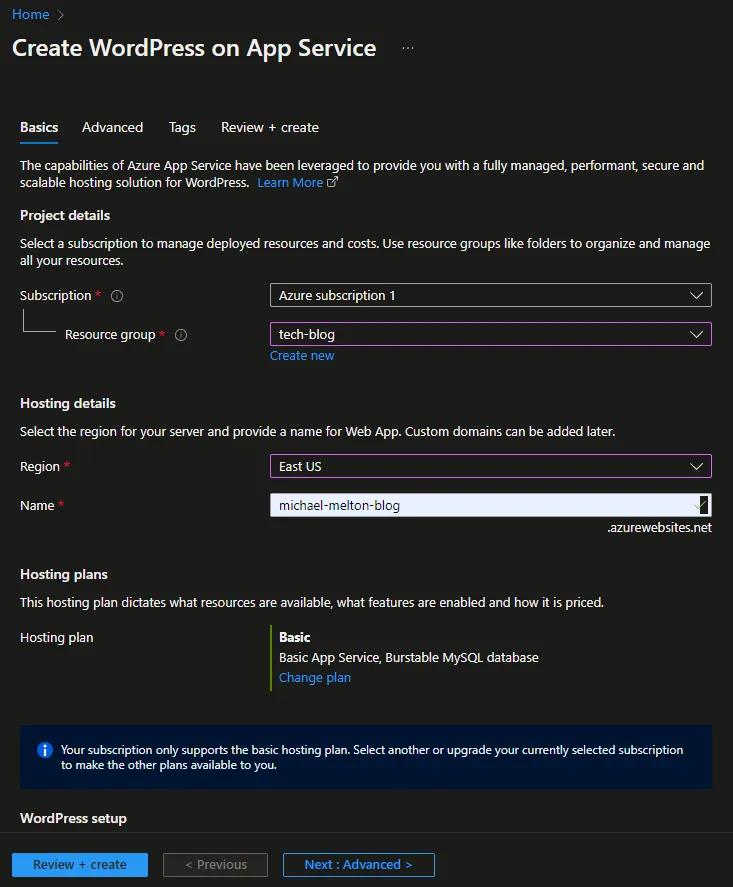
For this blog, I’ll be using WordPress since it’s secure, free, and easy to use. In the past, I’ve created a virtual machine and installed all of the required packages to host a WordPress blog. However, Azure has a simple way to deploy and host a WordPress blog using an app service (https://portal.azure.com/#create/WordPress.WordPress), so for simplicity I decided to go that route. I didn’t expect much traffic on this site, so the basic hosting plan should suffice.
After about 10 minutes, the WordPress site completed its installation and was ready to go. I started by updating my WordPress, themes, and plugins. Then, I chose a lightweight and basic theme. Finally, I spent some time configuring the general layout of the blog.
Registering a domain
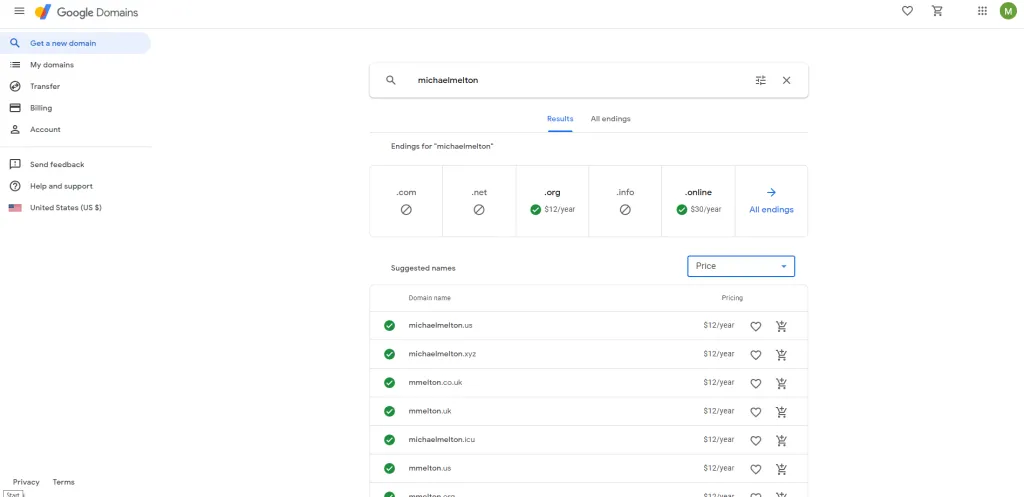
I decided to register my domain using Google Domains (https://domains.google.com). I’ve used this service in the past and like that the interface is simple. As an added bonus, I was able to register one of my preferred .dev top-level domains for a low price.
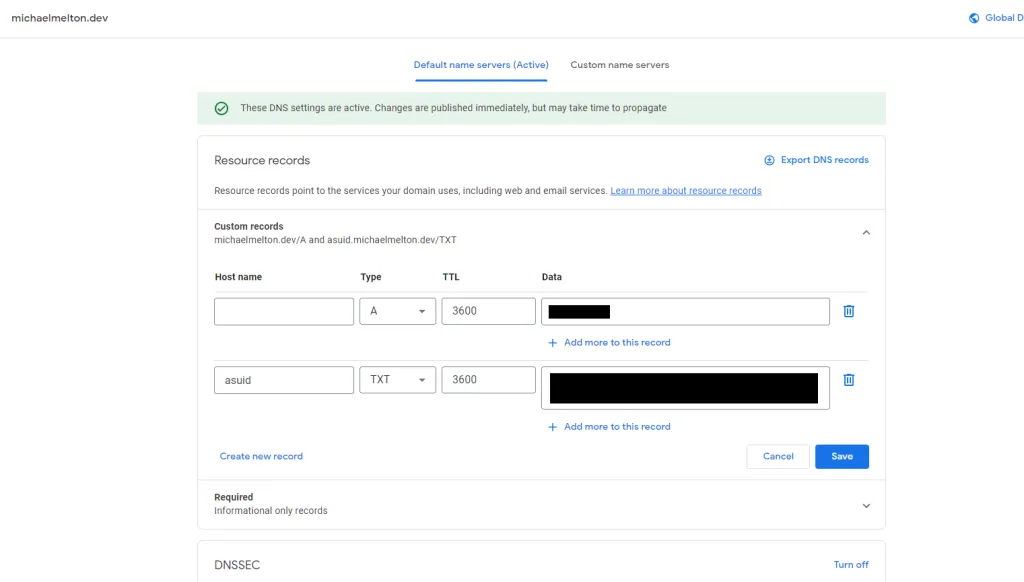
After registering, I modified my domain settings to point to Azure, which is where I’m hosting the blog. Once this was complete, I verified that my domain was pointing to my blog on azure. However, since .DEV only works over HTTPS, my next step was to configure a certificate.
Configuring HTTPS
Configuring any website to use HTTPS is a best practice for security and privacy. Also, my top level domain only works with HTTPS connections, so I needed to configure it for my blog.
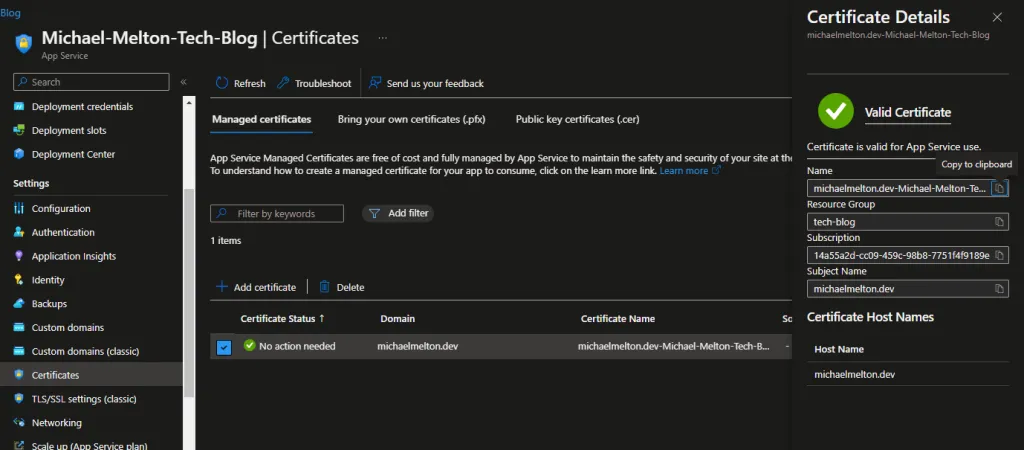
When hosting websites previously, I’ve used setup Let’s Encrypt (https://letsencrypt.org), which is a free, automated, and open certificate authority to issue certificates. However, after spending some time trying to set it up on my blog, I realized that there was a better option for my use case. Azure offers a simple and free certificate for app services, so I navigated to my app service, clicked certificates, generated a certificate, and assigned it to my blog.
Next steps At this point, I had a functional blog that was easy to maintain. I’d just need to continue adding blog posts, fine tune the theme, and add any necessary pages. In the future, I may experiment with deploying the blog differently, but I’ll document that process in a separate post.